What to do in this situation? Fortunately, Microsoft offer users a option to uninstall updates in Windows 11, so the users can remove problematic updates and undo the change that particular update made in to your PC. Microsoft usually offer two types of Windows update, regular updates that offer bug fixes, security patches, while features updates bring new features. You can remove both type of updates in Windows 11.
How to Uninstall Updates in Windows 11
Fortunately there are different ways to uninstall Windows updates in Windows 11 and in this blog post, we will cover all the possible ways. Let’s start with first method:
Uninstall updates using Settings app
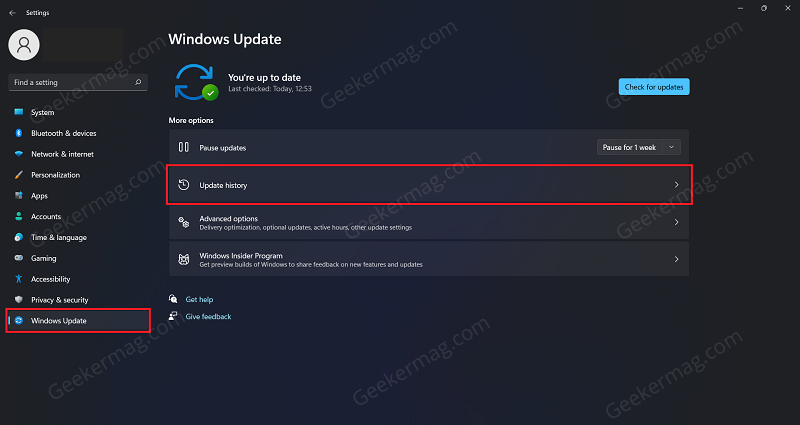
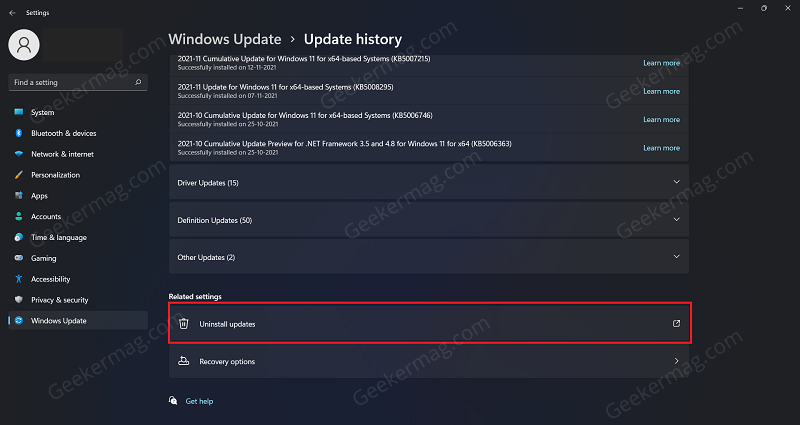
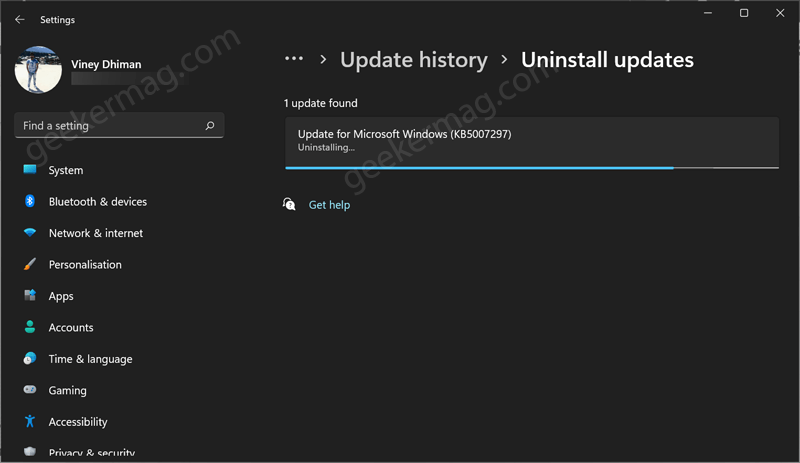
Press the Windows + I key combo to open the Settings app on Windows 11. In the Settings app, switch to Windows Update tab on the left, and the on the right-side click on Update History. On the next page, scroll down to Related setting section and click on Uninstall Updates. On this page, you will get list of all the updates that you recently installed on your computer. Click on the Uninstall button next to update that you want to remove. Instantly particular update will be uninstalled from your Windows 11 PC. The new uninstall update setting page is available in Windows 11 build 22523 or above. In case, you’re running build lower then this, then clicking Uninstall update option will take you to Uninstall An Update section on the Control Panel. Here, select the update you want to uninstall. After you have selected the update, click on the Uninstall button. When asked to confirm uninstalling the update, click on Yes. This will uninstall the update from your PC.
Uninstall Updates Using Windows Terminal
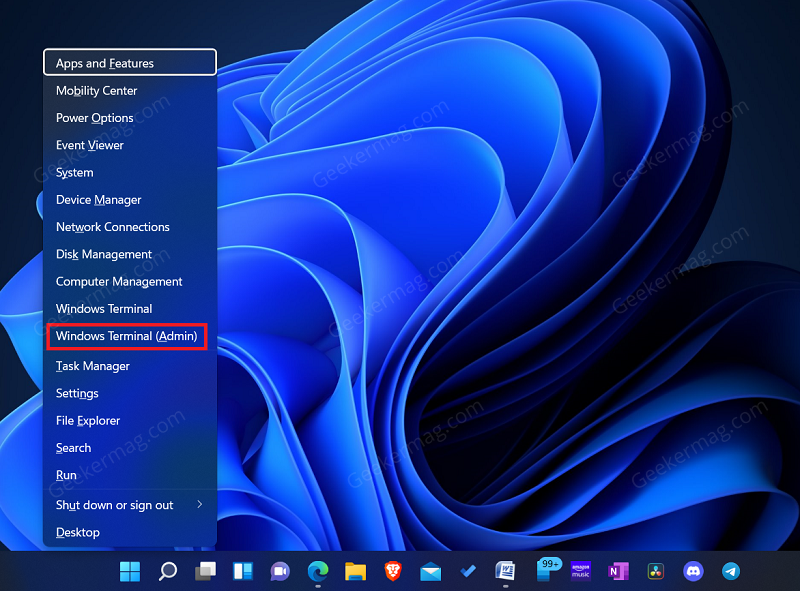
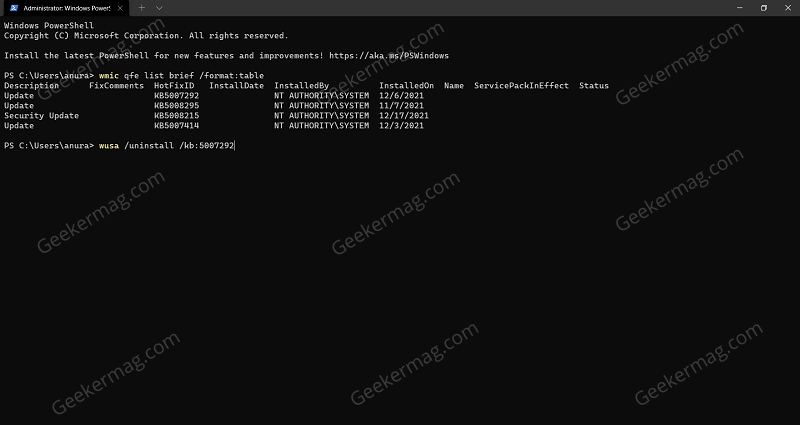
To open the Windows Terminal, press the Windows + X combo, and then from the menu that opens up, click on Windows Terminal (Admin). In the Windows Terminal, type the command wmic qfe list brief /format:table and hit Enter to execute the command. This will display a list of all the updates you have recently installed. Next, type the command wusa /uninstall /kb:updateID in the Windows Terminal and execute it. Ensure you replace the updateID with the KB number of the update. Once done, you will have uninstalled the update.
Uninstall Updates Using Advanced Startup Options
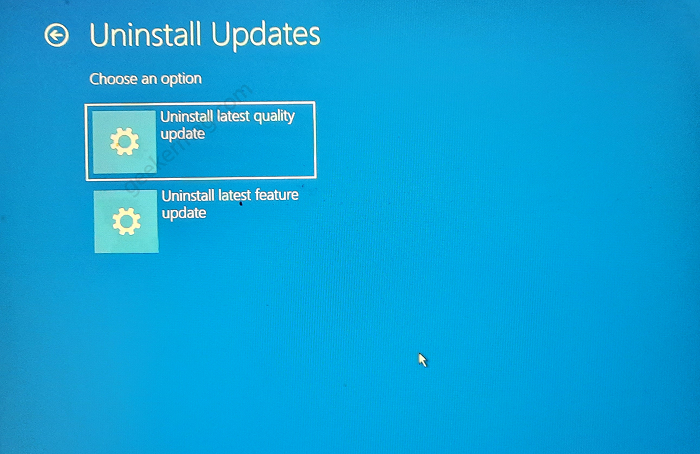
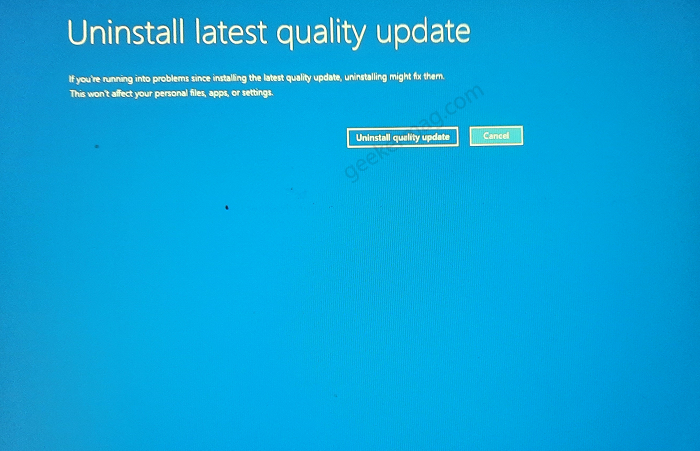
First of all, you need to boot your Windows 11 PC into Advance Windows Recovery Environment (WinRE). Here, you need to select Troubleshoot > Advanced options > Uninstall Updates. Here, you need to choose whether you want to Uninstall Quality update or Uninstall Feature update. On the next page, confirm the action to uninstall the Windows updates. Once done, you will have successfully uninstalled the update. This method is useful when you’re unable to get access to Settings app or your unable to login to Windows 11 PC. So these are possible ways on how to uninstall windows updates in Windows 11. Let us know which method you find convenient.